Pages

Saturday, May 31, 2014

A full Saturday: Rear end removal

We had great weather today, and put in around 7 hours on the WRX teardown. Breakfast was an omelette with faux-sausage, lots of sharp cheddar, and lattes.


Started out with some cleanup following mid-week brake work on the Miata between auto-x events (one pesky brake keeps hanging up). Once that was out of the way, Tamra caught up on photos of parts for sale, I texted with a few potential parts buyers, then started freeing and labeling the harness, starting at the rear of the car.

One potential buyer came by, looked at parts, ran off to the bank to pick up cash, and was never seen again. The joys of craigslist. The other two were no-shows, but claim they intend to come later. We'll see. We just want the space in the basement for all of the "keep" parts!

I then wrestled with the AC blower & ducting assembly in the passenger footwell. It was a bit difficult to get out around the dash bar, but it came out. Nice little squirrel cage fan design, too! Next was the coolant, made a bit of a mess despite the nicely designed drain fitting on the radiator. It is designed to pour out a little spout when you unscrew the valve, but actually it leaks all around the valve, then runs down the subframe. Oh well, it's empty-ish.

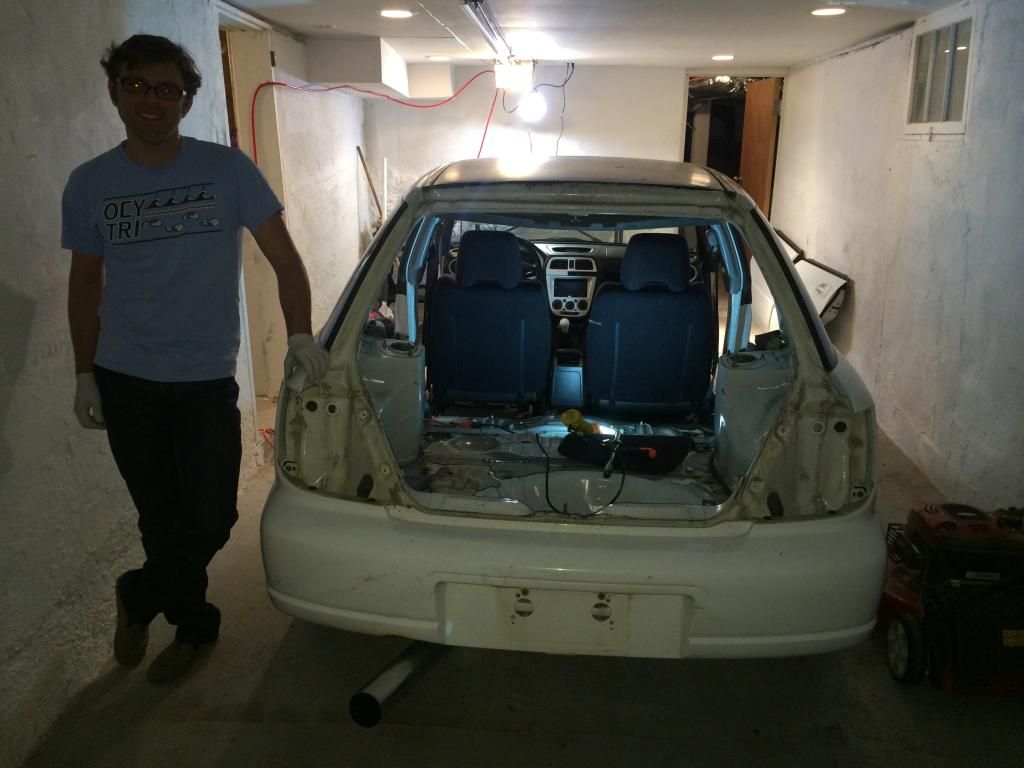
Tamra had been keen to get the rear differential, driveshaft section, axles, hubs, etc out. We tried to separate the flex brake line from the hard line as instructed by Factory Five, but the fitting was pretty stuck. We just removed it at the calipers, not sure if we'll wind up doing braided stainless lines anyway. I pumped the pedal while Tamra caught the fluid in a jar. Next was the ABS sensor line, then the E-brake cables. Got all of those hanging freely, then had a look at what to remove to get the assembly to drop out. Not sure if we took the most direct path, but it allowed us to drop the thing pretty completely, with a minimum of fasteners that we couldn't use the impact gun on.

Things were going unexpectedly smoothly, zip zip zip, set the floor jack to support the assembly, undo the last couple, and it settled down and came right out of the car. Awesome!

We dragged it out the back of the car for a photo op.

She looks proud!

Then, it was time for further disassembly. The bolts holding the bracing on came off without too much trouble. They took some effort, but a ~600 ft-lb impact gun does help with that.


THIS ONE, however. Ugh. One long bolt that holds the two lower control arms in place, mated to the hub. It's exposed on the inner face, which gets blasted with all sorts of road grime, and also collects water. It was pretty well seized on, on the drivers side. We got it off with the help of PB blaster, impact gun, dead blow hammer, and air hammer.

It's out!

The passenger side, on the other hand.. It's still in. It's soaked in penetrating oil, and it is persistent. It's not budging. We'll try again tomorrow after auto-x.

Thursday, May 29, 2014

No longer a roller

..Well, that was easy!

After selling off a set of tires from Tamra's daily, we met up with a local bugeye owner, chatted for a while & sold him a few parts. We had someone anxious to get ahold of the Tein Coilovers that were on the car, so we got it up onto jackstands about as a massive thunderstorm rolled through. Luckily, the wind was going away from the garage opening.


We pulled off the wheels, WOW they were on tight. Took my impact gun some time to get them free. We'll be inspecting those studs before the 818 goes together, but initial impressions were no obvious damage.
The screwed on clips for the brake & ABS lines came off easily- first good sign! Then we removed the top nuts for the camber plates, also easy, and the strut began to drop down away from the frame. Looks like we got lucky, and the suspension's static droop is more than the length of these coils!

The spindle/hub connections to the coilovers came off quickly with the impact gun too, and then it was free! Repeat 3x. The whole job might have taken a half hour. I was shocked, and very happy about that!

Suspension at full droop- no tension on the brake cables,
but we won't leave it this way for too long.


We wiped them down to see what we would be trying to sell, and got a nice surprise, they're Tein Super Street as opposed to the expected Street Basis. The labels are faded, but they have the damping adjustment knob on the top. They also seem to have Cusco rear camber plates & Tein front camber plates. 


Sunday, May 25, 2014

Interior removal

Today we had a slightly lazy morning, but were out in the garage well before noon.

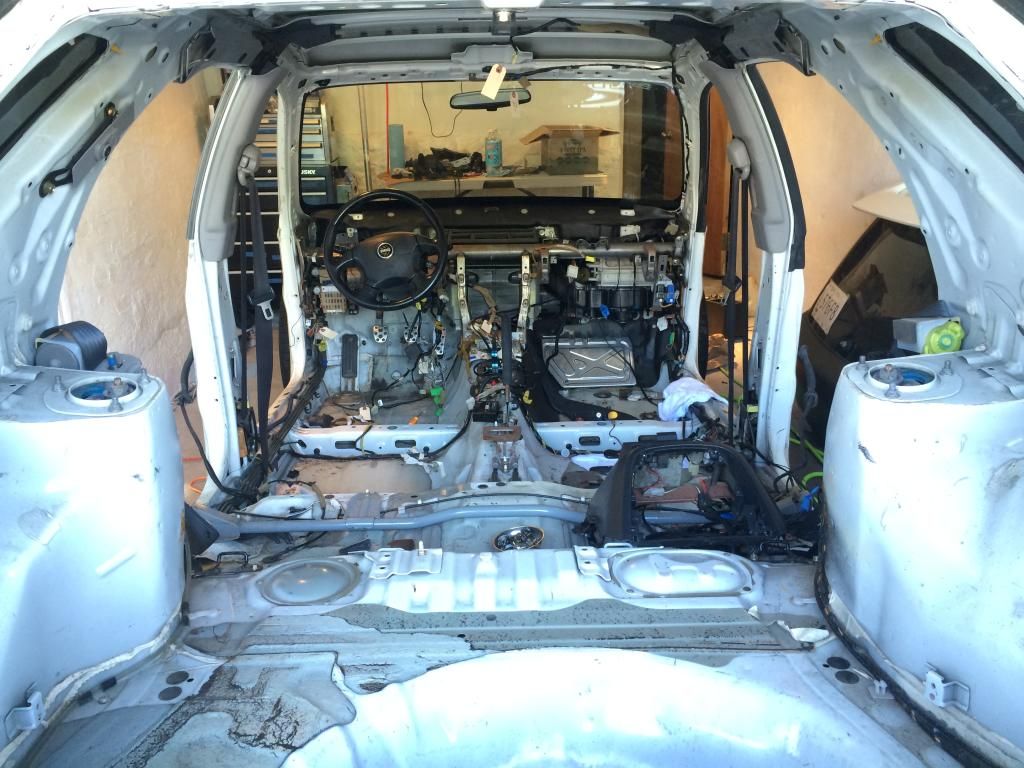
We started with getting pictures of some of the piled up parts, then got on with removing the head unit, AC controls (annoying, with lots of mechanical cables this year), then moved on to the seats, passenger airbag, dashboard, carpet, and some of the other plastic panels. Made sure to spend lots of time tagging each connection I undid. I think that box of 1000 twist tie tags may come in handy.


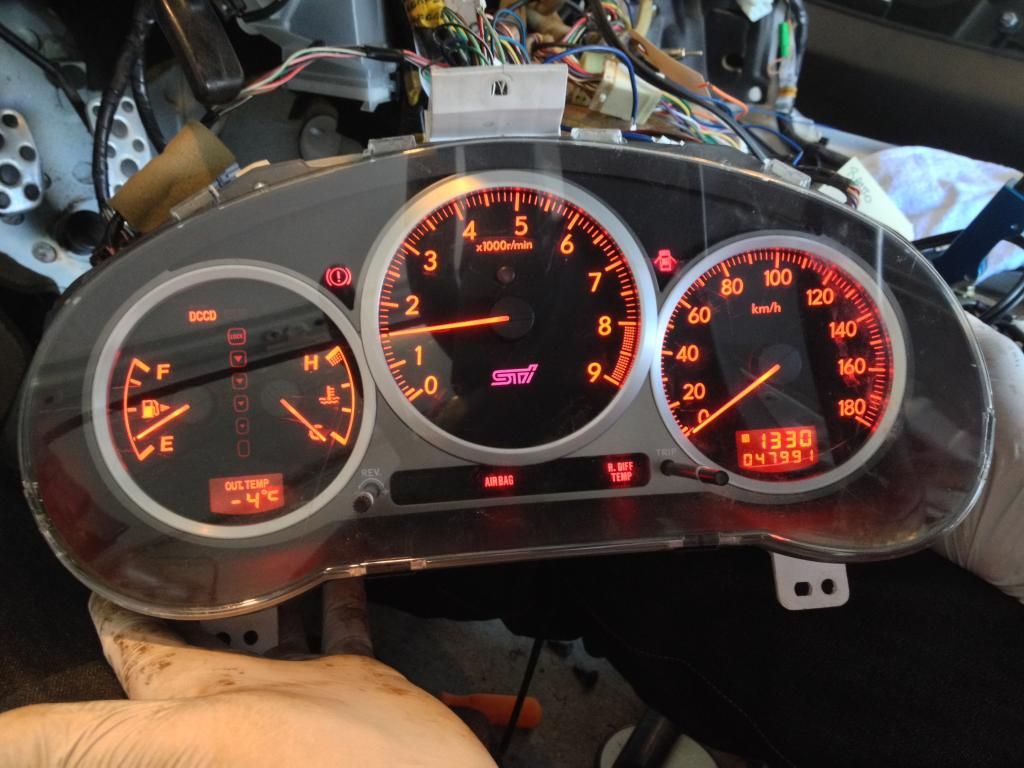
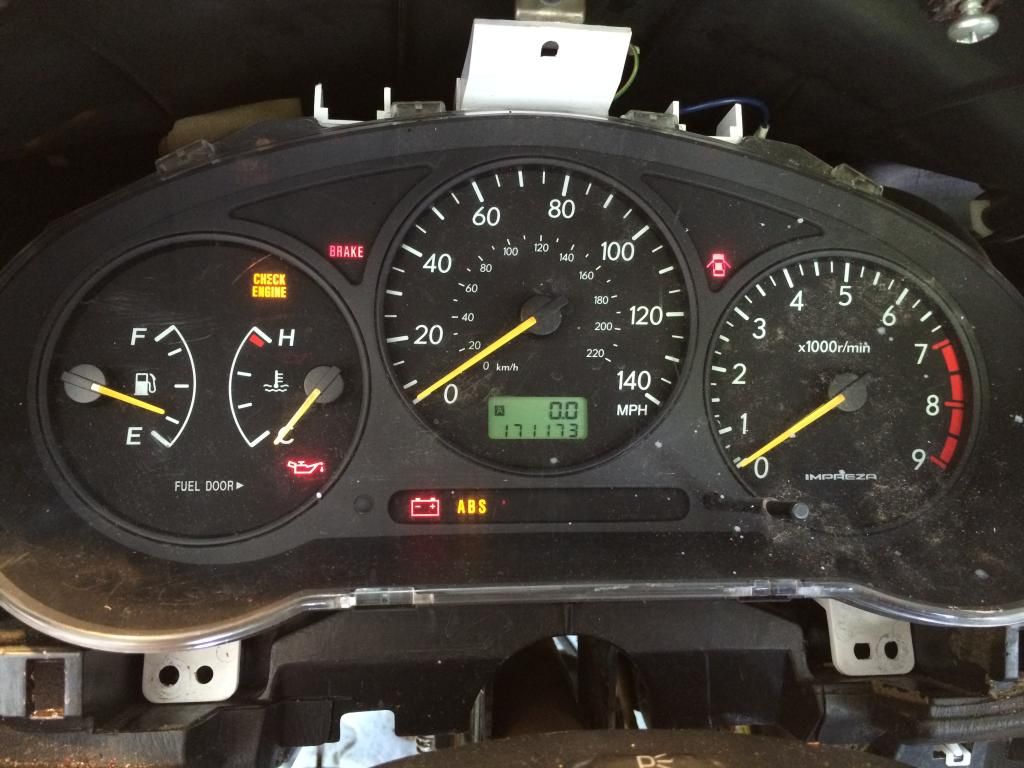
We got a JDM V8 STi dash with the car, which we verified works perfectly, so we may use it in our 818. It has some neat features, like a user-selectable shift light. We might need to do something about the speedo being in KPH, though!

JDM V8 STi cluster
OEM 02 cluster
We finished up for the day around 7:00, with a quick oil change on Tamra's car.

Tomorrow is autocross in the Miata! TONS of entries, around 130 pre-registered.

Saturday, May 24, 2014

Organizing.. or attempting to

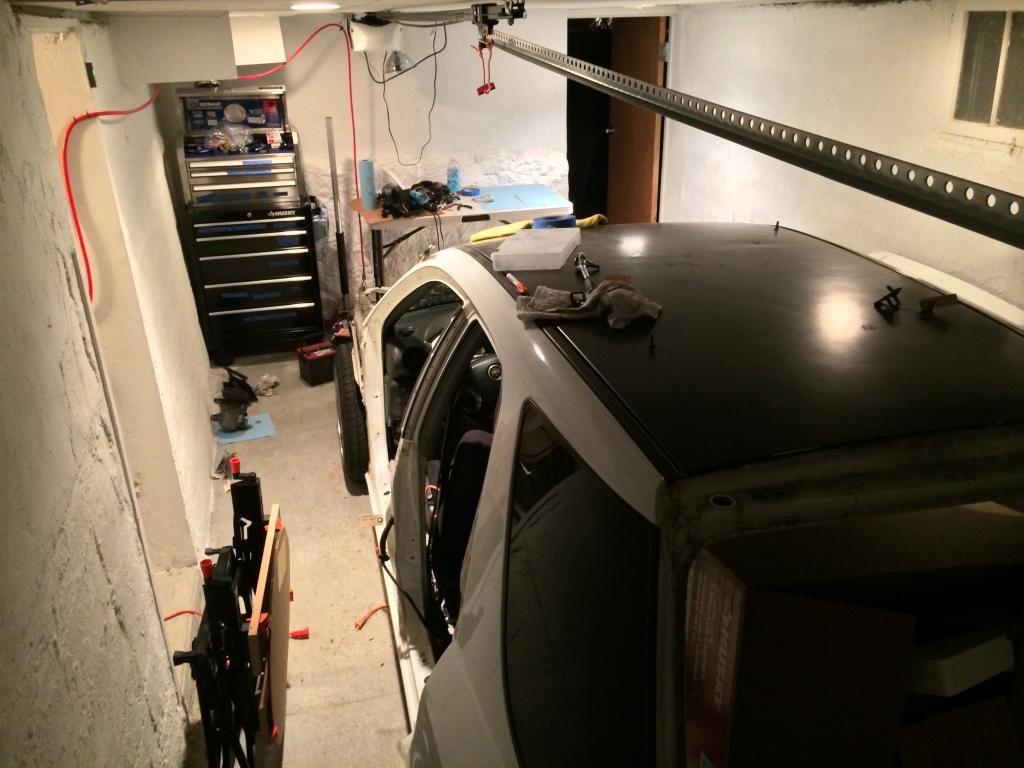
We've definitely been beginning to recognize the challenges of working in a 200 sq ft garage. There's another similarly sized one adjacent, but the two areas are separated by a concrete wall with only a standard sized door opening. The tool chest had been in the other side, which has a workbench. That wasn't working.

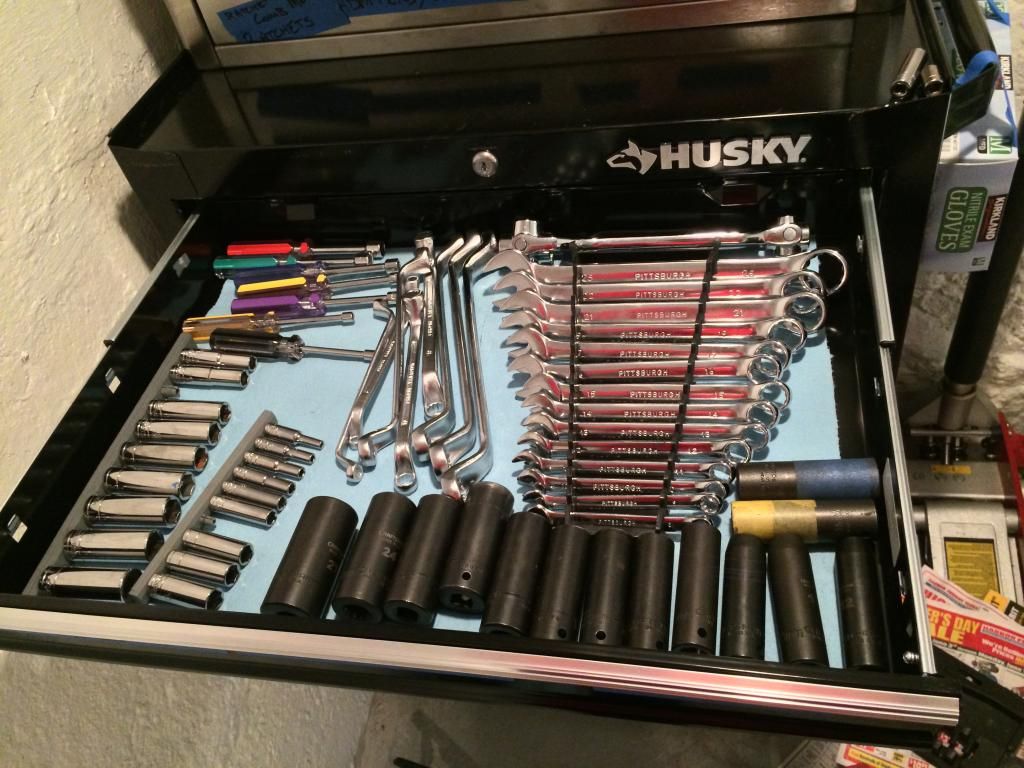
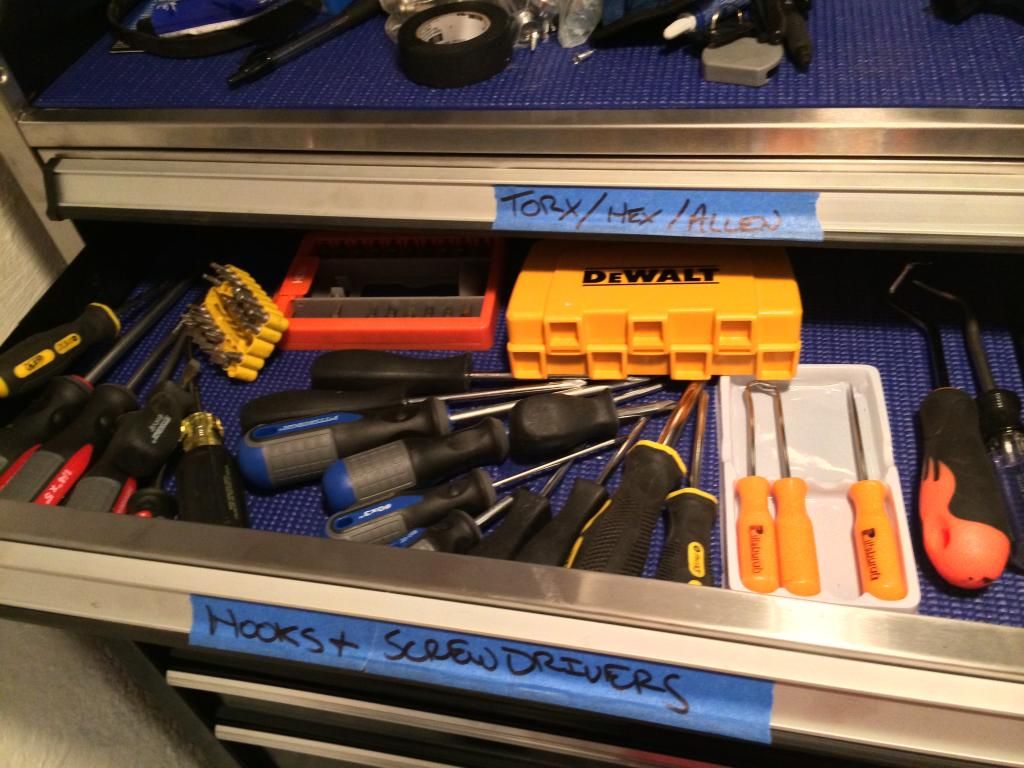
Today we went out and did some more shopping, some of the usual; Groceries, oil & filter for Tamra's car, but also a new lower tool cabinet for this project. We chased down one remaining home depot 5 drawer at a good price (cheaper than their new and improved (?!) 4 drawer! After a quick assembly, it was time to try and find homes for everything. It's still a bit of a mess, but a vast improvement to have everything in the same space as we're working.

This is what we're working with for space on either side, and the new tool cabinet


Some drawers are pretty tidy.

And others are a bit less so.

But, everything has a place. For now. It should help a lot with getting rid of all the wasted time running from area to area chasing after each tool.


While I was shuffling tools, Tamra set in on the basement. Turns out, body panels take up a lot of space, when they're off of the car! She made some pretty significant improvements in how we were storing stuff, and got a handful of pictures for listing items for sale.


The panoramic makes it actually look like we're doing better than we are with storage space. We definitely need to get busy selling off the big pieces and a few spare sets of tires we have from the Mazda3 & Miata, so that we'll have room for all the remaining parts of the WRX.

Tomorrow should be a more productive day when it comes to actually removing parts from the car.

Wednesday, May 21, 2014

Evening 3: Compression test

We had been a bit nervous about the engine, since it was built by the previous owner, as opposed to a professional shop. He seemed legit, and said that he had been quite careful about everything, but you never know.
We decided to do a compression test to make sure all the valves & piston seals were good.

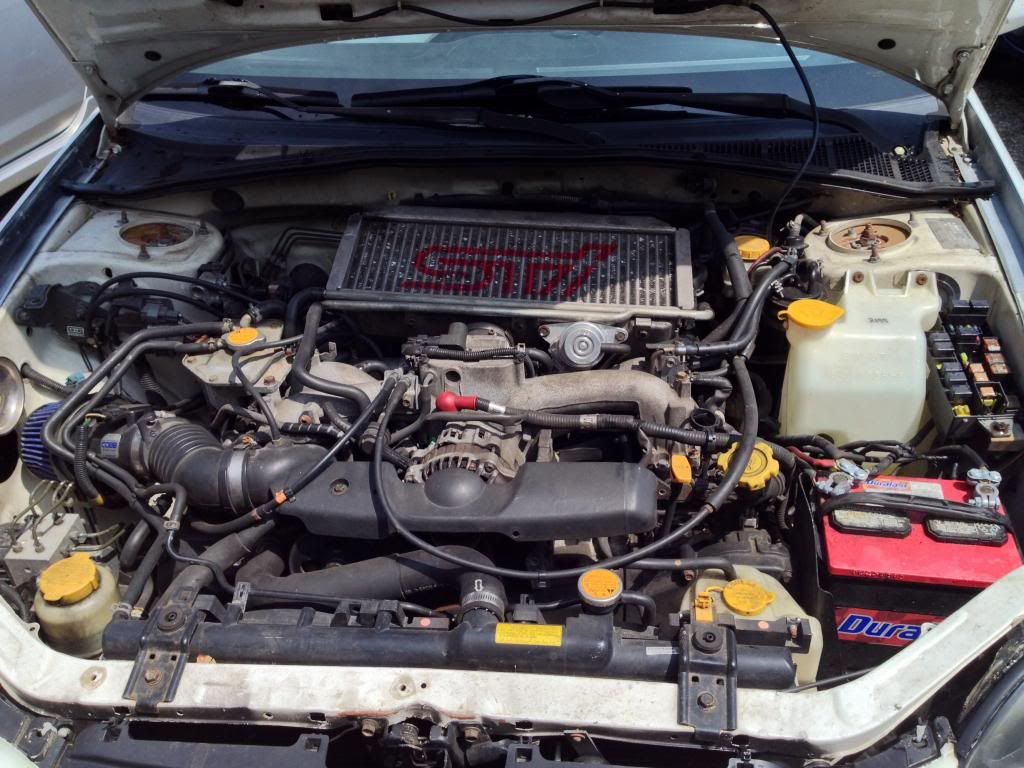
Remove battery, intake, washer fluid reservoir, disconnect fuel relay & ignition fuse, then fish a ratchet down between the heads & frame rails.. Boxers may be great for weight distribution, but they don't make head work any easier.

With the coil packs removed after some minor acrobatics, we cleaned the ports a little then pulled the spark plugs. All the threads were happy, and the 2 steps colder plugs were all in the tan range. Good signs!

We fed the compression tester hose into the spark plug fitting blindly, and managed to not cross thread anything. Reconnected the intake & battery, then came the moment of truth.

Gave the car a short turn of the ignition, paused to make sure we didn't have fuel spraying everywhere, then continued cranking until we had a stable reading on the gauge.


Cyl 1: 140 PSI
Cyl 2: 135 PSI
Cyl 3: 135 PSI
Cyl 4: 140 PSI

.. A happy healthy engine, we were rather relieved that there couldn't be anything too substantial to deal with down the road to fix the occasional CEL on Cyl 1 misfires.

Next up, the rest of the interior. For now, time for some homebrewed beer & to find something for dinner.

Tuesday, May 20, 2014

Teardown: Evening 2

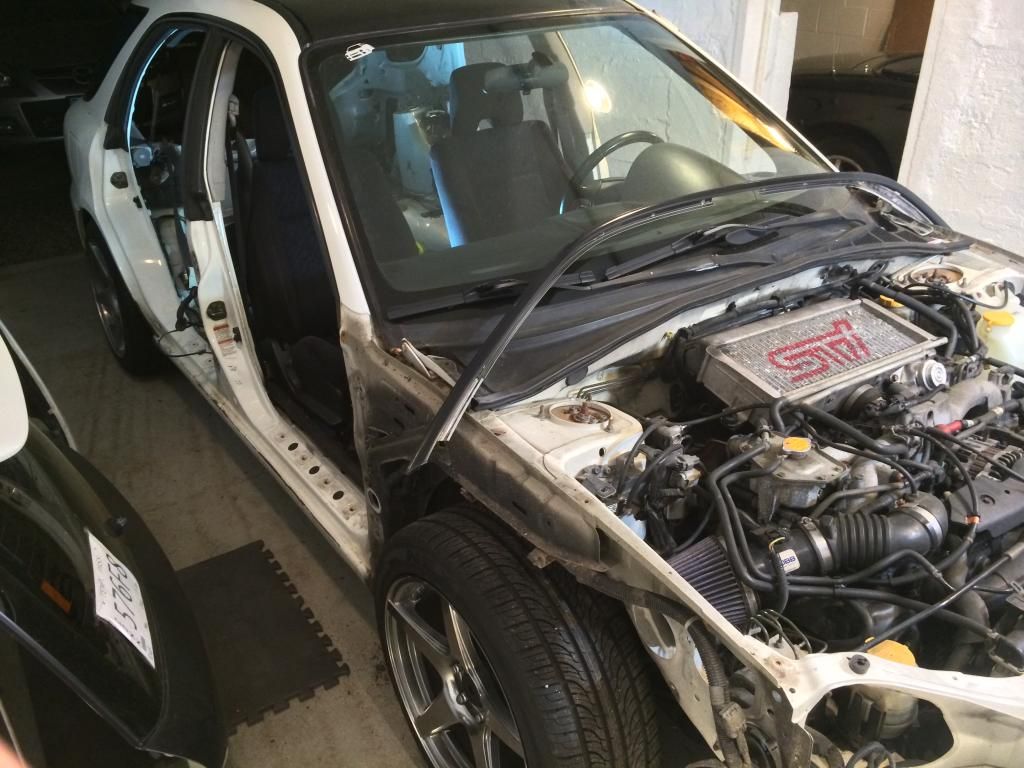
We got a few hours in tonight- Removed the fenders, then the front doors, after chasing down the appropriate manner to sever the wiring harness (the door section is zip-tied in, in a particularly inaccessible manner). Also got the hatch and a bit of weather stripping, trim, glovebox, etc out of the way. The headlights also came out.
Still have that obnoxious exhaust on there.. It's welded on, so it may stay a little longer..
Definitely starting to look like progress!

Monday, May 19, 2014

WRX donor teardown: Day 1

Sunday May 18:
We woke up, had some yummy scones that Tamra made, and I donned my Gustin American Sixteeners. They're a pair of raw jeans (unwashed, un-pre-faded) that I've decided to sacrifice to this project. They'll grow to show the wear of the build, and will serve as a bit of an art piece commemorating the project. They're also heavy enough to protect from a bit of sharp sheet metal.

We did some shopping, bought a few shelves to store all the parts, and went looking to see what the options were for a tool chest, as my collection has rapidly outgrown my 4 drawer top portion. Currently weighing the options between $100 for something that's..adequate.. and $400 for something that I actually think will last & be pleasant to use.

When we got home, we set in on the car. All of the door cards came out, followed by all 4 windows. Next, the wiring and rear doors, then the hood. We have to keep track of all the fasteners and hinges, since they're re-used on the 818.


We pulled the WRX into the garage, kicking my Mazdaspeed3 to its new home outside.

I ordered a handful of plastic organizer cases and twist-tie tags, with a case of fine point Sharpies to keep track of things, which ought to be here before the long weekend. Hopefully, that'll let us keep things in order.

PS on the jeans note:
Gustin hooked me up with a shortcut on their normal business model they usually wait for customers to commit to a pant, then commence cutting & sewing in the SF bay area. Sign up HERE and we each get $5 off our orders.

It begins!

Friday, May 2nd: We visited Factory Five Racing in Wareham, MA.
They gave us a tour of the plant, and we sat in the go-cart 818S, and the 818R.  We'd been researching and drooling for a bit, and it was all we needed. Handed over the credit card (rewards points!) and filled out the paperwork.
Tamra in the 818S roller
Andrew in the 818S track test car

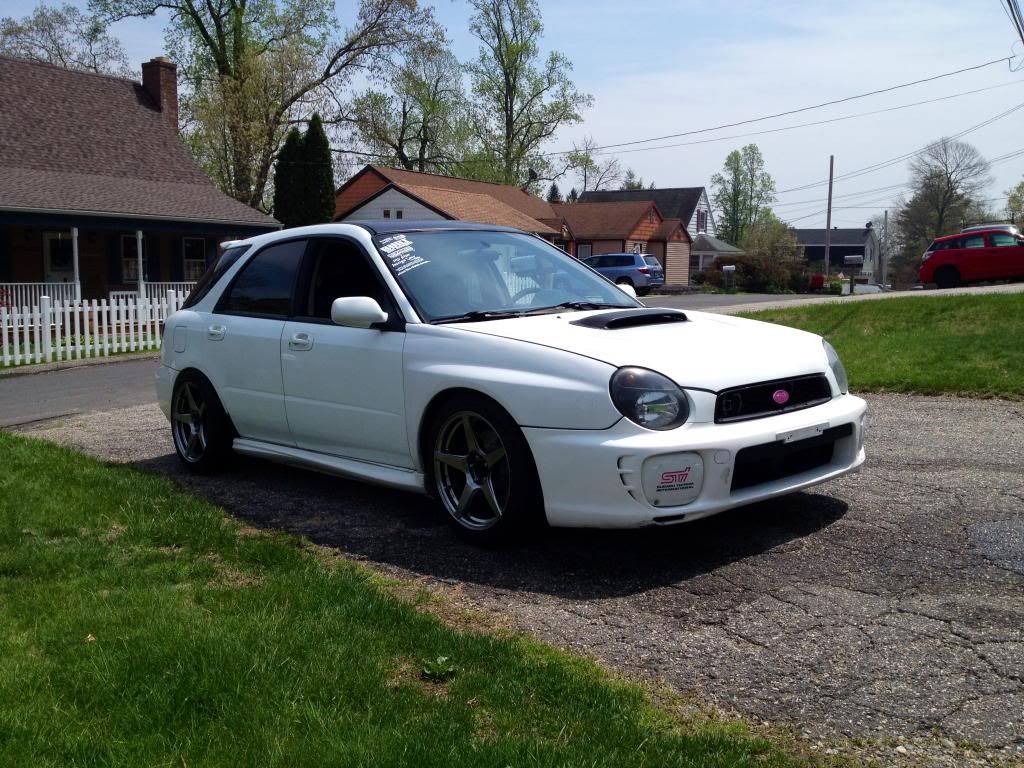
Fast forward to Saturday the 10th, and after a significant amount of time spent on Craigslist, I'd found a good candidate via a local subaru forum (CTsubie.com). We went over and inspected the car thoroughly, or so we hope. There were some worrying things, lots of zipties holding the bumper on, slightly ratty interior, assorted small dings on each and every panel, and a rear sway bar holding on by a few rusty threads in a halfway bolted on bracket.

Well, it had a strong feeling EJ257 block with 2.0 heads (hybrid build) and a VF 22 turbo with appropriate tune, so we were sold.

We brought the car home, and promptly began de-ricing it. Swear stickers were first to go, followed by all the rest and some plastidip.


I registered the car with temp plates, paid my dues to the taxman, and drove the car to work for a few days. Somewhere in there, I gutted everything behind the front seats. All the trunk plastics and carpet, along with the rear seats & hatch cover plastics. Got several CELs- P0301, missfire: cyl 1 on my drives to work. Seems to be common with  built motors & lightweight flywheels, which this has. The car doesn't noticably stutter when the code comes on, so we will do a compression check before pulling the engine from the subaru, and if that passes, assume it's something we can deal with later. Glad to be done commuting in it- the level of noise coming out that 3.5" straight exhaust was a bit conspicuous.

There's a bit of shuffling involved with 4 cars & a motorcycle.. The driveway is plenty big, but we have two small separated 1 car garages. The build will be taking place in one of them, at about 200 sq ft.